Design a Moon Lander in Tinkercad
How do you get to the Moon? By rocket, of course. But how do you construct it so it can break through the Earth’s atmosphere? How can you wrangle it into a trajectory to your destination? Build each of your rocket’s components and customize your work. Then think about how far you need to go – and how you’ll land when you get there! We'll be focusing on the last part in this project: how do you land when you get there.
Setting Foot on the Moon
A manned spacecraft needs a soft landing, but it’s all in the timing. Fire up your thrusters and hope you’ve picked the right spot to touch down.
The future of space travel lies in the hands of designers and engineers, just like you. In this Instructable we'll explore designing a Moon Lander using Tinkercad, a fun and approachable way to design by combining shapes to great your model. It's super easy, and free!
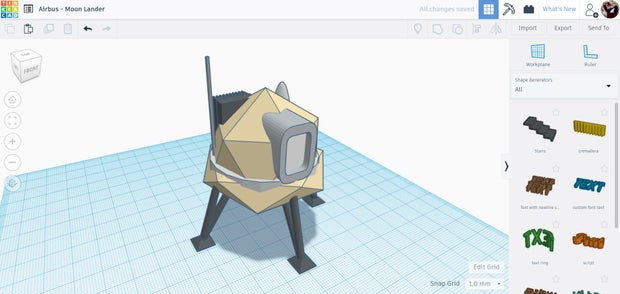
Below is the Moon Lander design we will be making together. Take a moment to interact with the model below and see it from all angles before we get started.
Step 1: Lander Capsule
Start by going to Tinkercad.com and making a free account.
Tinkercad is a browser based program, so there is nothing to download or install. Tinkercad works by combining primitive shapes together to create new shapes. Shapes can be combined, subtracted, and moved around to create your design. It's easy, intuitive, and fun!

We will start making our Moon Lander capsule by scrolling down the library on the right side of the screen until we find the isohedron shape. Drag that shape onto the workplane.
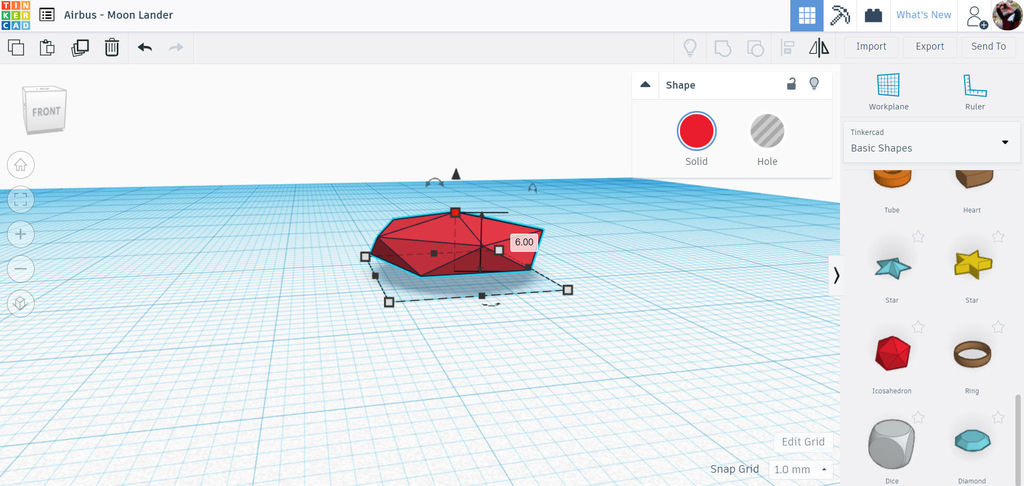
With the shape selected you will see white handles around the shape, these will allow us to resize or stretch this shape however we like. Grab the white handle on the top to change the height of the shape. We want to squish this isohedron down. This will be the base of our lander that the capsule will sit on.
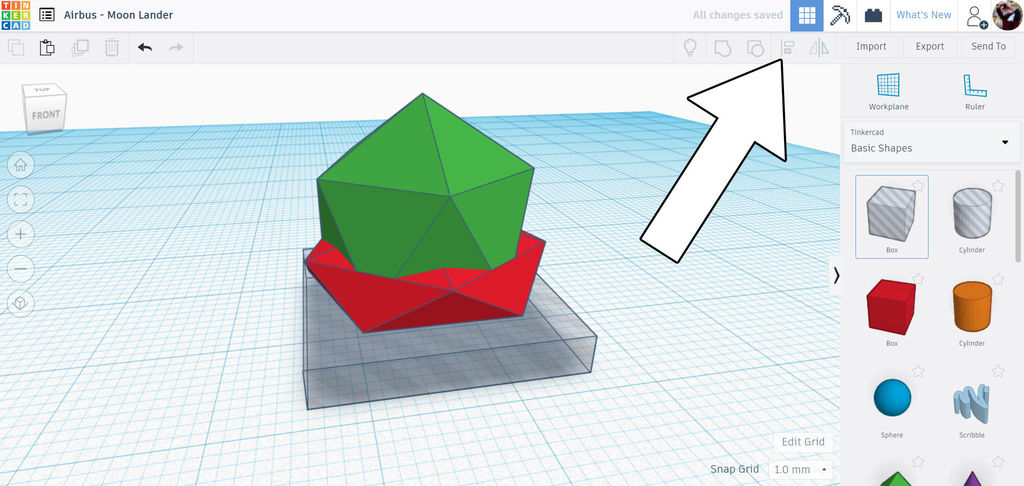
Now, drag another isohedron onto the workplane, and then drag a box hole onto the workplane, too. We'll use the same white handle technique to squish the rectangle down. The aim here is to use the box hole to chop off the bottom of the two isohedron shapes and give us a flat bottom to our Moon Lander. Use the image above as a reference for how to tall to make your box hole.
Select all 3 shapes and then use the align command in the top toolbar to align all 3 shapes on top of each other. With the align tool activated, you should see black dots around your shapes that will have a ghost image around them when you mouse over the alignment dots.
When the shapes are aligned and sized in the proportions you like we can select all the shapes and group them using the group command on the top toolbar or the crtl + G shortcut.

The grouping has combined the two isohedron shapes with the box hole and made the basic shape of the Moon Lander capsule. I think the transition between the two isohedron shapes doesn't look great, so I added in a cylinder shape from the library on the right. I used the align tool again to keep everything lined up correctly.
With the cylinder selected you can move the slider for the sides to get a stepped cylinder, or add more sides for a smoother shape. Do not group these shapes together yet.
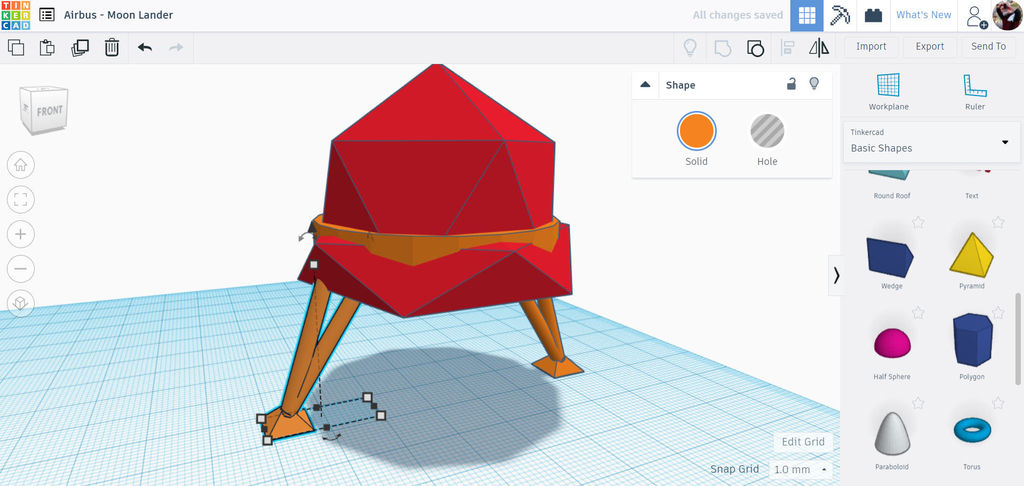
Step 3: Multiply Lander Legs
We can now select the capsule shapes and use the small black arrow at the top of the selected shapes to raise the shapes off the workplane. We want the capsule high enough off the workplane to allow the legs to fit underneath.

With the capsule raised the legs can be positioned underneath. Select all the shapes and use the align command from the top toolbar to align the legs in one axes with the capsule.
Then, only select the landed legs and hold the shift key as you move them under the capsule. The shift key makes the lander legs move in only one axis as they are moved. Since we already aligned the legs and capsule in one direction, the shift key will allow up to move them in the other direction to exactly where we want them to be placed.
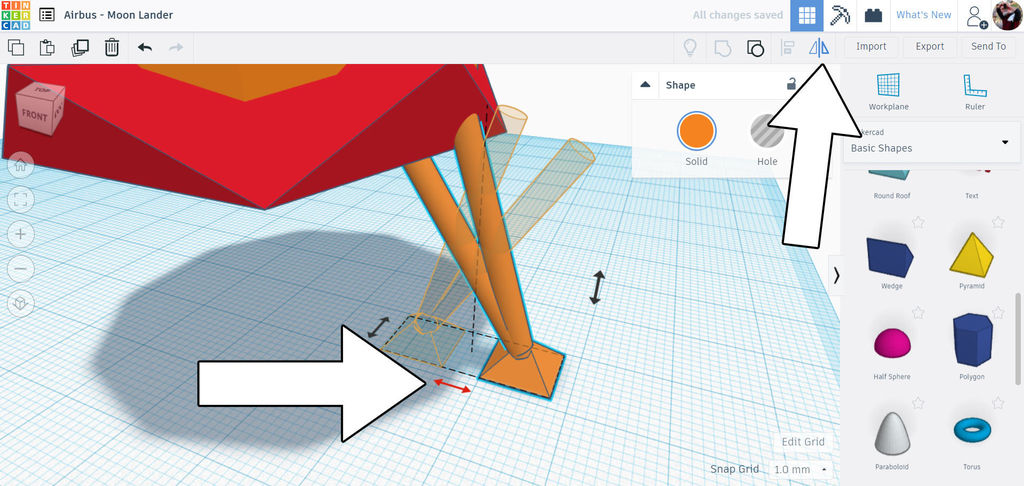
With one leg in place we can create a duplicate (ctrl + D) of the lander, then use the mirror command from the toolbar to flip the duplicate using the arrow at the bottom of the lander leg (as shown in the image above).
With the flipped duplicate selected, hold the shift key and drag the leg to the other side of the Lander capsule. The shift key will constrain the movement to only one axis.
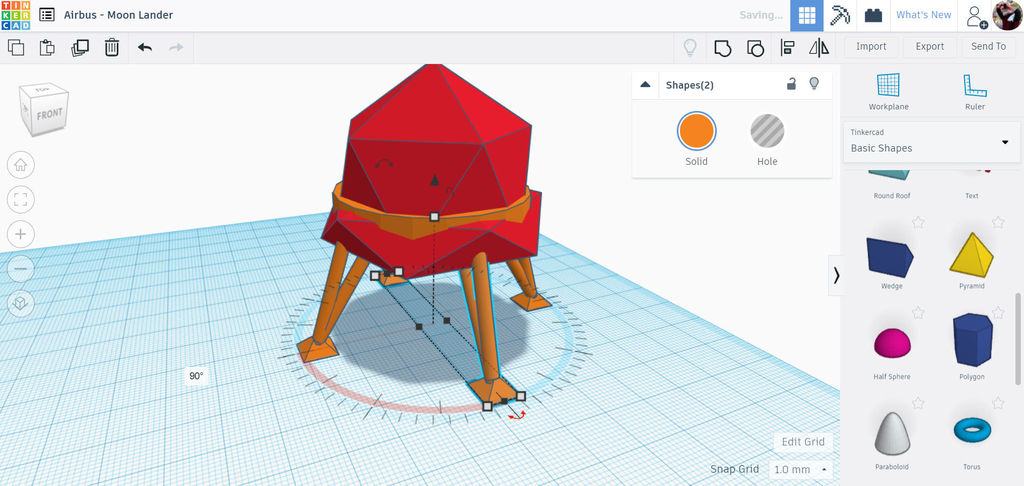
When the second leg is in position, select both legs and then duplicate (ctrl + D) to make another copy of the two legs. Use the rotation arrow to rotate the leg copies 90 degrees to complete the 4 legs for our Lander.
Lastly, select all 4 legs and group (ctrl + G) to group the legs as a single shape.
Step 4: Thrusters
With most of the Lander complete we can turn our attention to the thrusters on the underside of the Lander.

In the shape library there is a shape called paraboloid that will work perfect for us. Drag this shape onto the workplane.
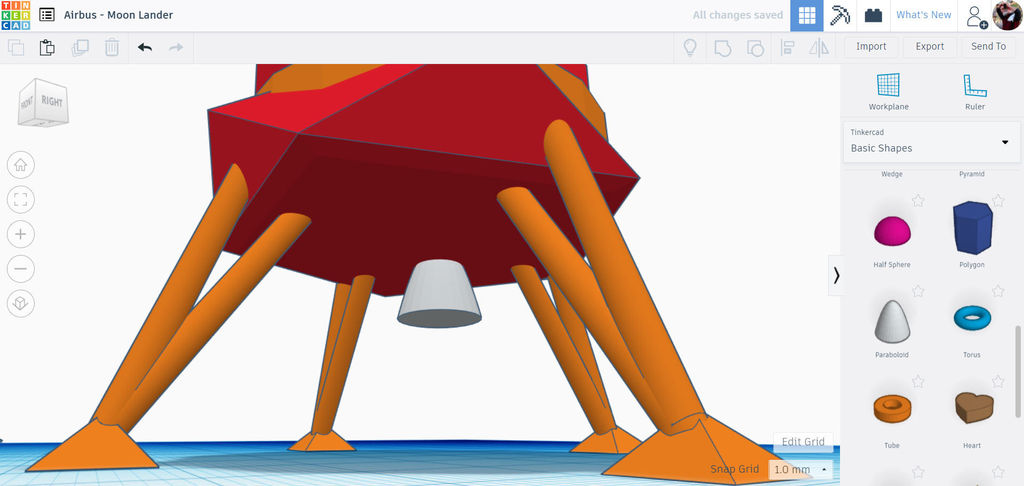
Move the paraboloid under the Lander, and use the shift key as you resize it to constraint the dimensions. Use the black arrow on the shape to lift it off the workplane and under the Lander capsule.
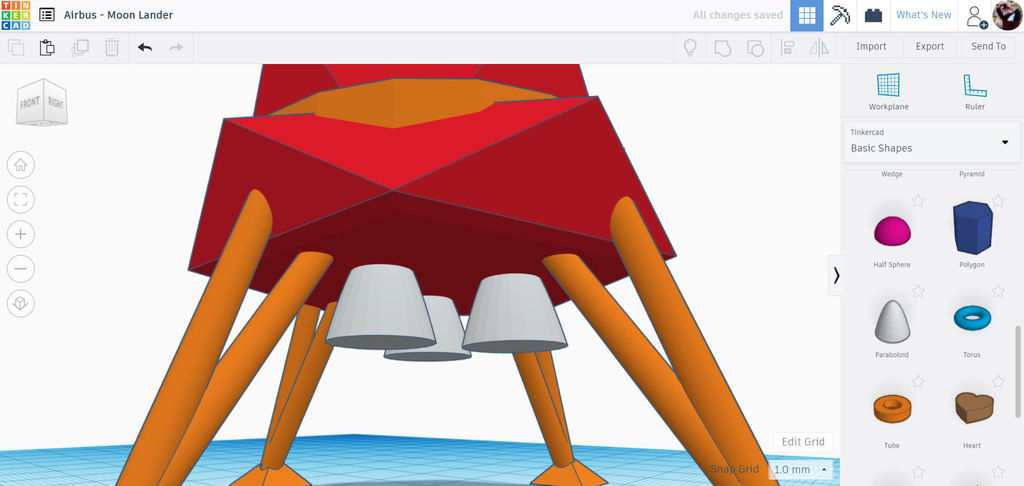
Use the duplicate (ctrl + D) command to make duplicates of the paraboloid shape, then position the duplicates around the underside of the Lander to complete the thrusters. You may select all the thrusters and group them together to keep things organized.
If you've been following along with these directions you can select all the shapes on your workplane now and use the align tool to line up all the shapes, correcting any misalignment that may have happened up to this point.
Step 6: Embellishments
The Moon Lander is now finished! With the skills you've learned from making the Lander you can add in some embellishments to help visually convey your design ideas. I added in an antenna, some kind of radiator and a transmission cone to the top of my Lander. Add in your own embellishments and get creative!

Comments
Post a Comment